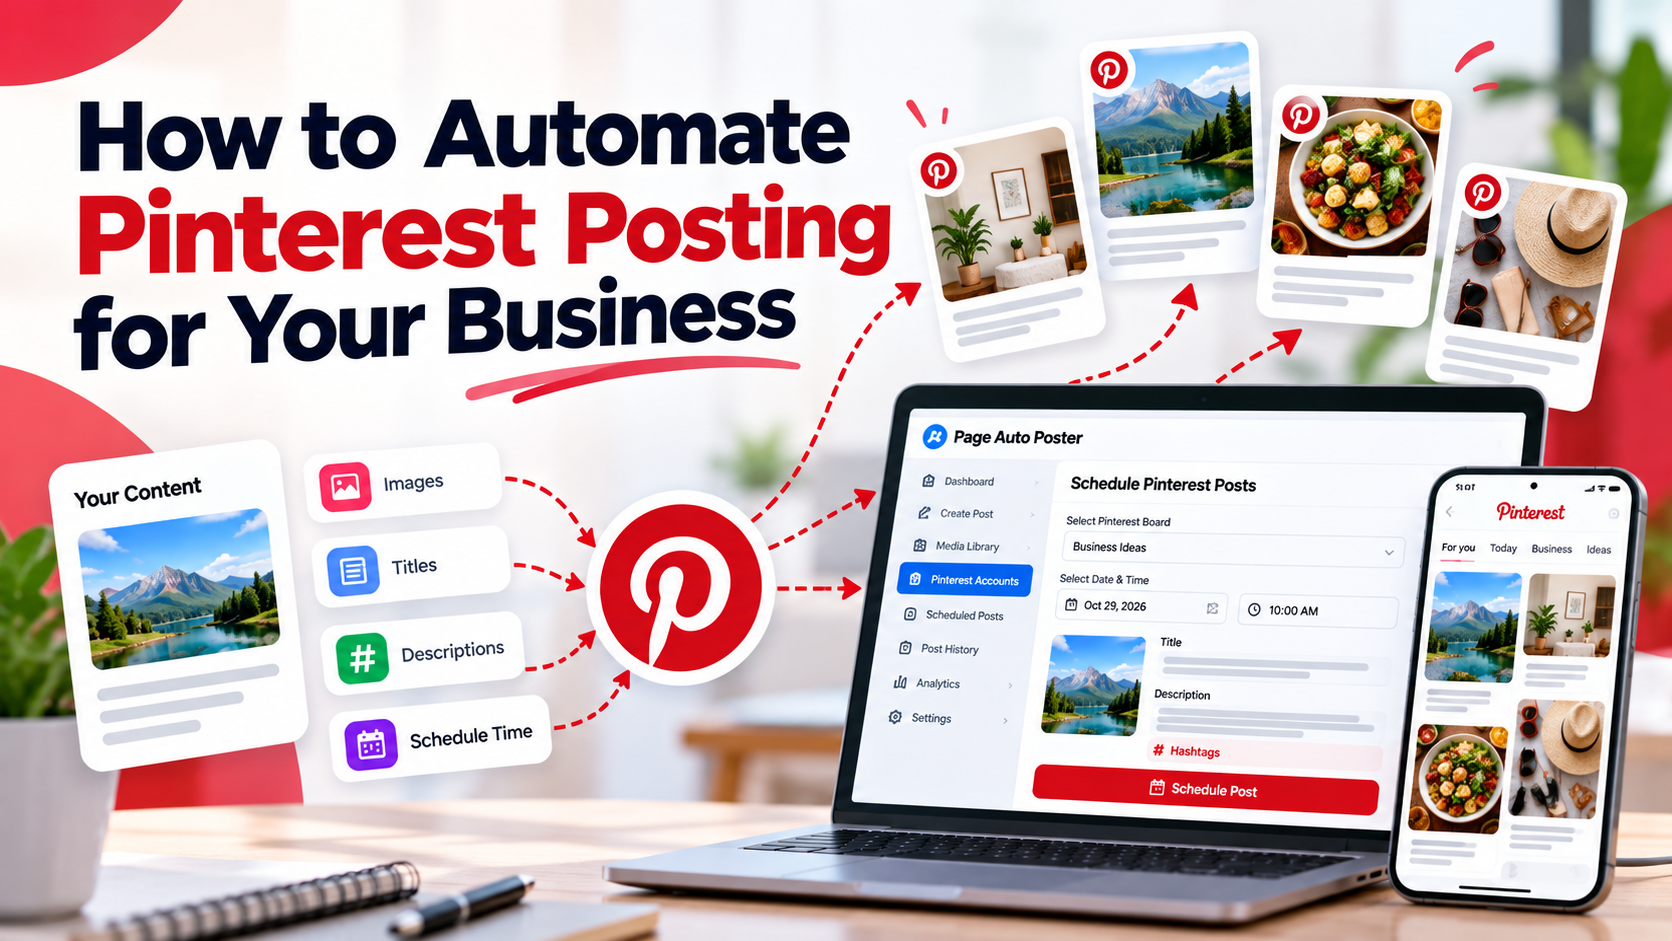
Pinterest rewards steady publishing, but uploading Pins one at a time every day is a poor use of your week. Automation lets you do the creative work in one sitting and have the publishing happen on schedule. Here is a practical way to set it up.
What Pinterest automation actually means
Pinterest automation means creating Pins in advance and letting a tool publish them to your boards at the times you choose. It does not replace strategy. You still decide what to say, which boards to use and where each Pin should link. Automation removes the repetitive uploading.
Step 1: Get your foundations right
- Use a Pinterest account that has access to the boards you want to publish to. A Business account is the usual choice for brands.
- Review your boards. Each board should cover one clear topic, with a name and description a searcher would understand.
- Decide on the pages your Pins should link to, such as product pages, blog posts or landing pages.
Step 2: Connect your account and select boards
In Page Auto Poster, you connect Pinterest through Pinterest's official login and then choose the boards each Pin should be published to. Publishing the same Pin to more than one relevant board is possible, but only choose boards where the Pin genuinely fits.
Step 3: Prepare Pins in batches
Batching is where the time savings come from. Set aside one session and create a group of Pins around a single theme.
- Pick a topic or keyword you want to be found for.
- Create or upload the Pin image. You can use your own artwork or the built-in image creator.
- Write a clear title and description. The text tools can generate Pinterest titles and descriptions from a keyword, which you can then edit to match your voice.
- Add the destination link.
Step 4: Schedule instead of publishing now
Choose a date and time for each Pin, or set up an ongoing publishing rule. Spreading Pins across days looks more natural than publishing everything at once, and it keeps your profile active over a longer period. Once scheduled, publishing is handled on the server, so you do not need to keep your browser open.
Step 5: Review and adjust
Use publishing history to confirm what went out and Pinterest analytics to see impressions and engagement for your connected account. Look for patterns, such as which topics or image styles earn more attention, and plan your next batch around them.
Keep a human in the loop
- Read generated text before scheduling it and edit anything that does not sound like you.
- Make sure each image matches the page it links to.
- Check your scheduled queue occasionally so seasonal or outdated content does not publish at the wrong moment.
Next steps
Start small: one board, one topic and a week of scheduled Pins. When that routine feels comfortable, expand it. You can read more about how Page Auto Poster handles Pinterest on the Pinterest page.
Share This Article
Was this article helpful?
Let us know so we can keep improving our guides.